Logging
Requirements
See Getting Started.
Activate the conda workshop enviroment:
$ source activate workshop
Aim
Take a look at the Logging section in the configuration file. PyWPS currently logs events to two different locations:
- A log file where messages are stored. The kind of messages is set in the configuration file.
- A database where each request to the service is registered.
PyWPS uses SQLAlchemy to connect and work with multiple database management systems. SQLite and PostgreSQL tend to be the most used options.
Objectives:
- You will learn how to configure and check the logs.
Check the logs
Our demo WPS service is configured to log to the pywps.log file.
Using the tail, less or cat commands search for error messages
in the pywps.log file.
Tip
These messages are preceded by the string “[ERROR]”, it is possible to grep the error messages:
cat pywps.log | grep "\[ERROR\]"
Continuous monitoring
Use the tail command to continuously monitor the activity of the service:
$ tail -f pywps.log
Database browser
If you have no database browsing programme installed, Install DB Browser for SQLite on your system. On Debian based systems it can be installed from the command line:
$ sudo apt install sqlitebrowser
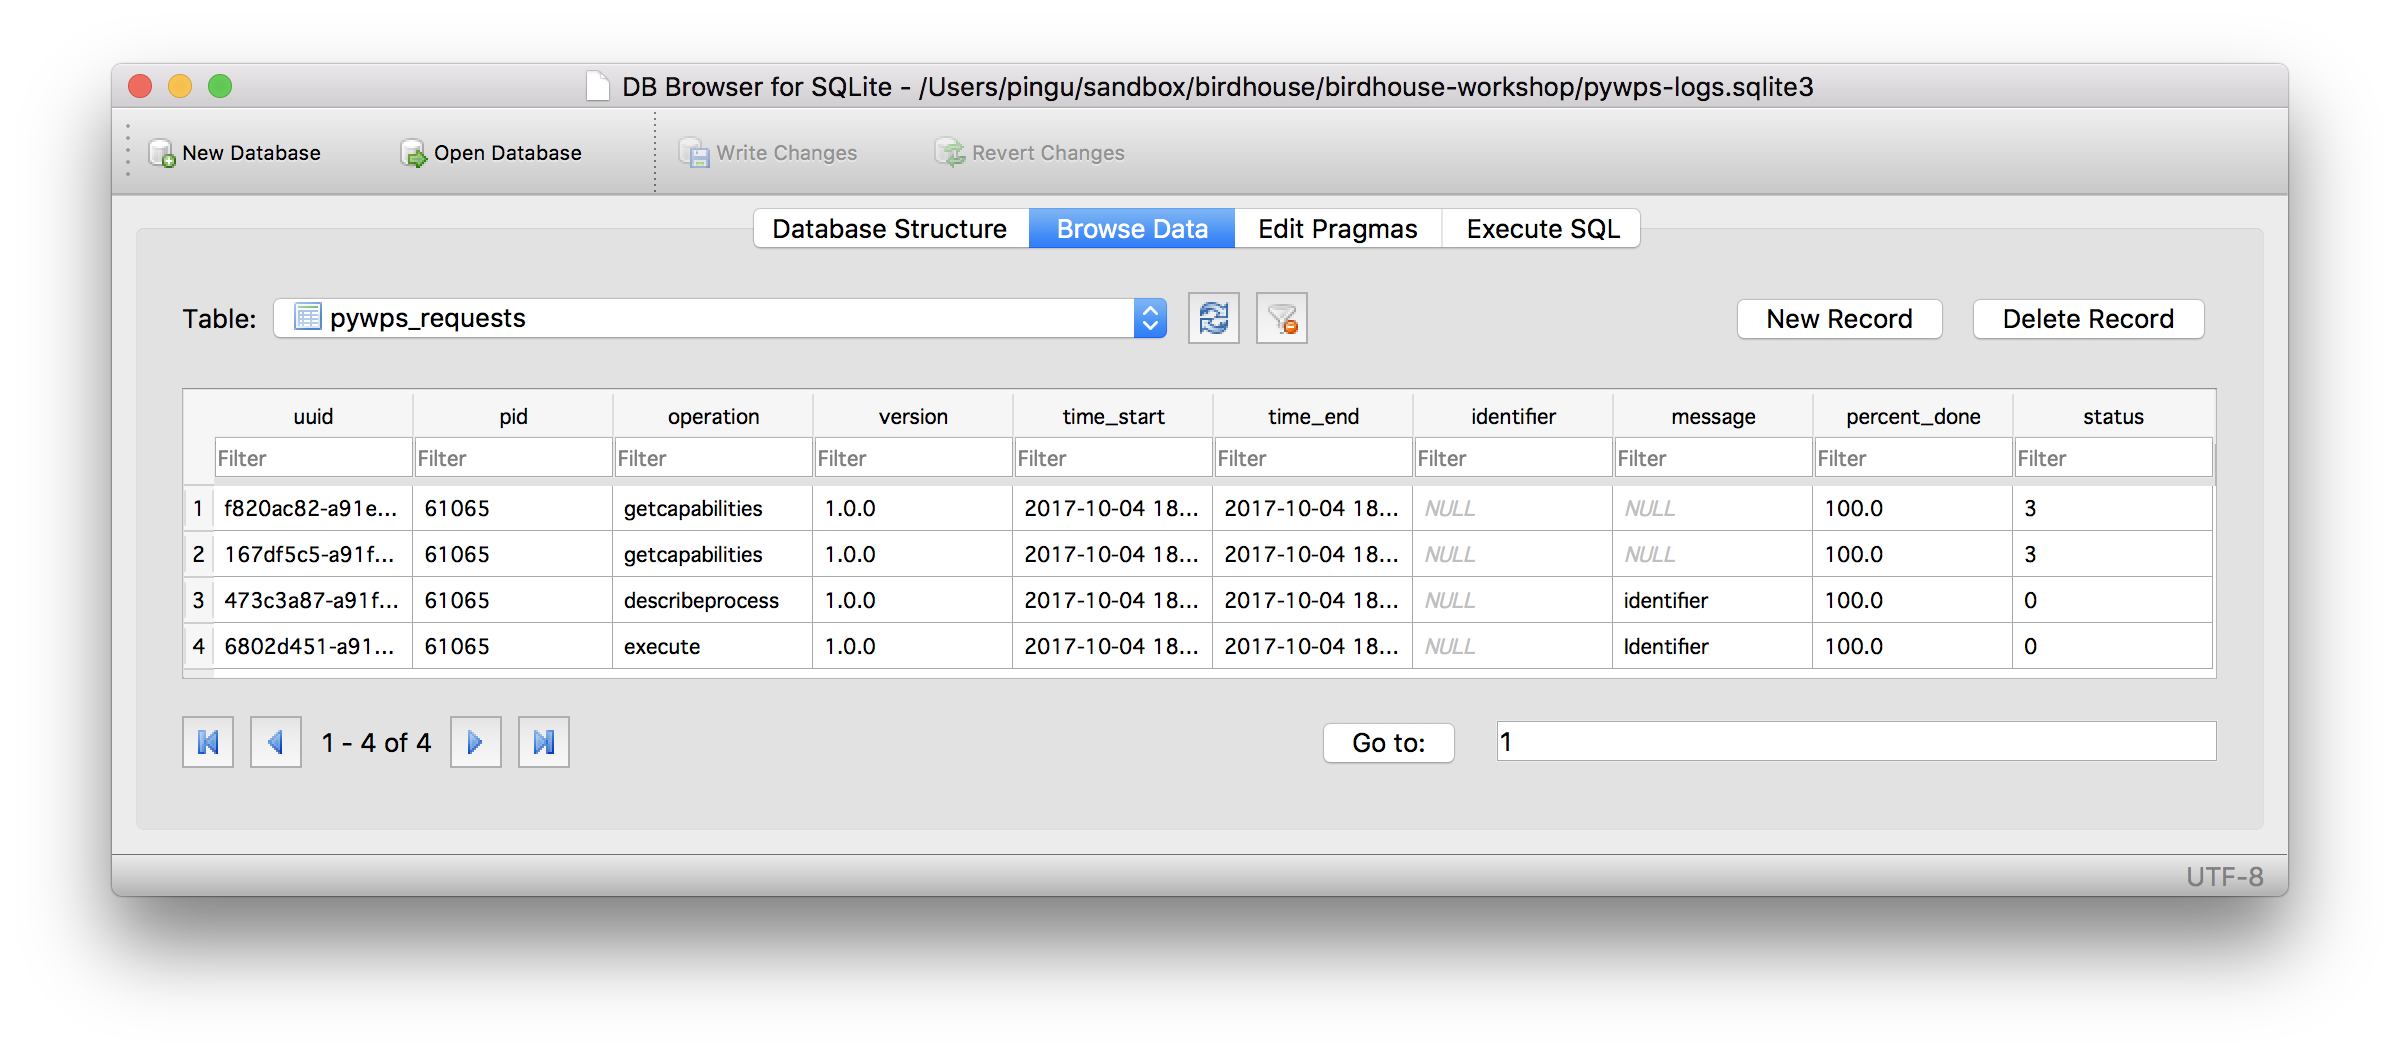
See a screenshot with an open SQLite database file pywps-logs.sqlite3:
You can also use SQLite on the command-line:
$ sqlite3 pywps-logs.sqlite3
sqlite> select * from pywps_requests;
sqlite> .quit
Configure logging
Change into the tutorials folder pywps_logging:
$ cd ~/birdhouse-workshop/tutorials/12_pywps_logging
It contains a pywps.cfg file with a logging section.
You can overwrite the default PyWPS configration by starting the PyWPS service
with another config:
$ python ../../demo/demo.py -c pywps.cfg
loading configuration
Configuration file(s) ['../../demo/default.cfg', 'pywps.cfg'] loaded
Exercise 1
Edit the pywps.cfg … use DEBUG logging level.
Start the demo WPS service and monitor the log file.
Run a few processes.
Exercse 2
Start the demo WPS service with processes form the previous tutorial.
Add some logging statements and monitor the service.